Do you know a bathroom renovation can provide a 71% return on investment? And do you know there is an innovative wall panel system that can help you increase the margin with a time-saving and cost-saving installation and hassle-free maintenance? The answer is the SPC shower wall panel system! Wondering how? Check out the installation process.
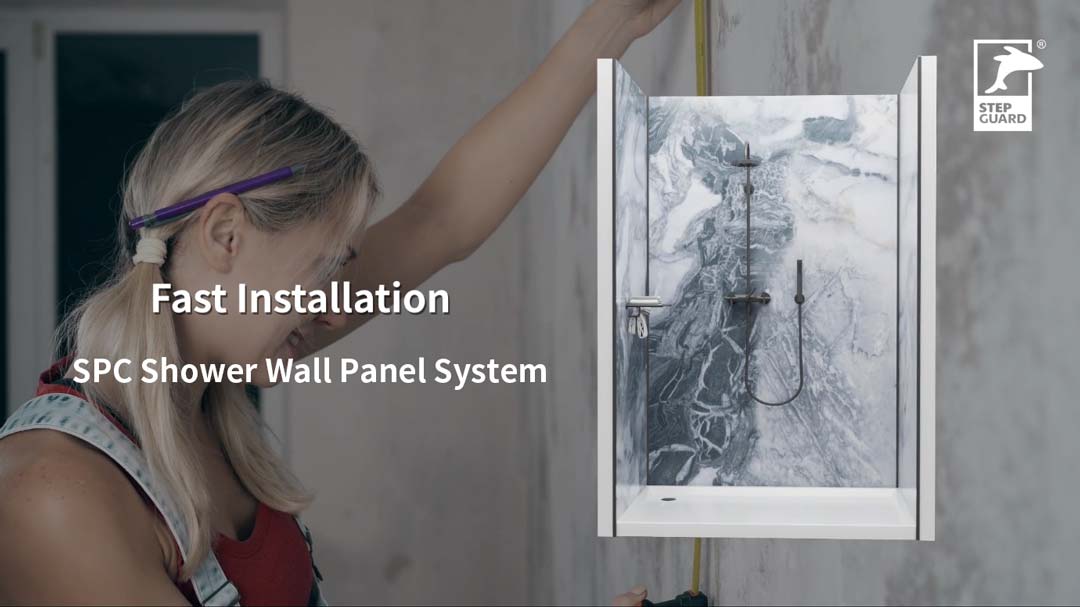
Homeowners have been investing more in home renovation. The bathroom, especially the bathroom wall is one of the hottest interior remodeling projects, but it is also one of the hardest places to remodel. What’s more, the increasing costs for both labor and material also make people think twice. But now you can have an easier choice, which is SPC shower wall panels. Don’t believe it? Just have a look at how to install SPC shower wall panels in the bathroom and transform the space within half a day.

Many people want to panel the shower wall but don’t know how many wall panels they need to buy. Let me help you out.
For normal practice, you will start by measuring the height and width of the walls. Generally speaking, the only thing you need to worry about is the width. You need to divide the width of the wall by the width of the wall panels. Round up the resulting figure, and you will get how many SPC wall panels you require.
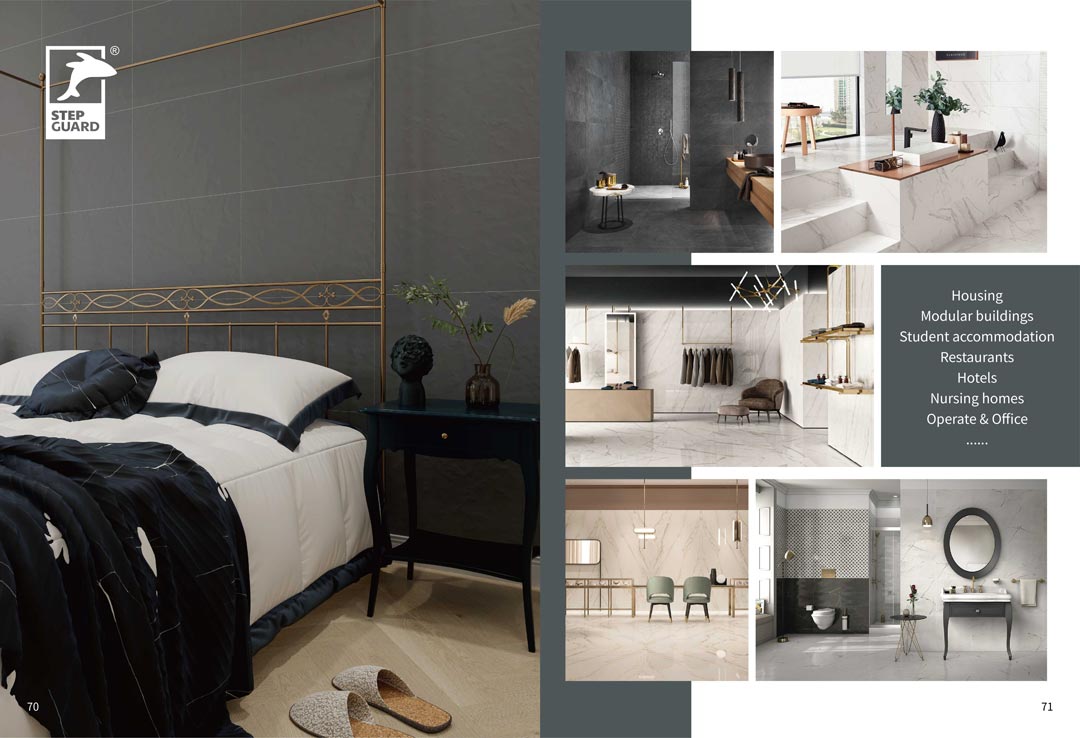
Actually, it is pretty straightforward. And it works in the whole bathroom area, and other residential areas such as bedrooms, living rooms, kitchens, and commercial applications like offices, hotels, restaurants, hospitalities, etc.
But you definitely deserve a better solution, the shower SPC wall panel kit.
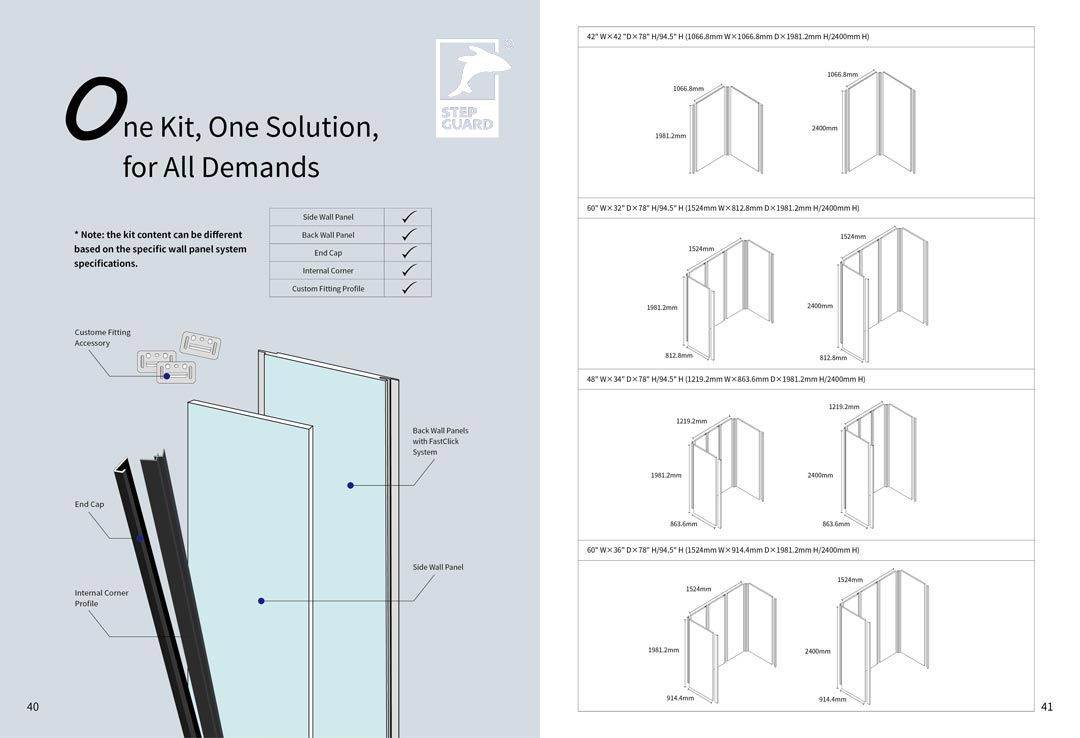
No more calculating, just measure the length and width of the side walls, and back wall, then choose from our SPC shower wall panel systems. For the standard 48” x 36”, 60” x 32” or 60” x 36” alcove shower, you can easily find the complete waterproof SPC shower wall panels in one kit to renovate the entire space.
No more calculating, just measure the length and width of the side walls, and back wall, then choose from our SPC shower wall panel systems. For the standard 48” x 36”, 60” x 32” or 60” x 36” alcove shower, you can easily find the complete waterproof SPC shower wall panels in one kit to renovate the entire space.
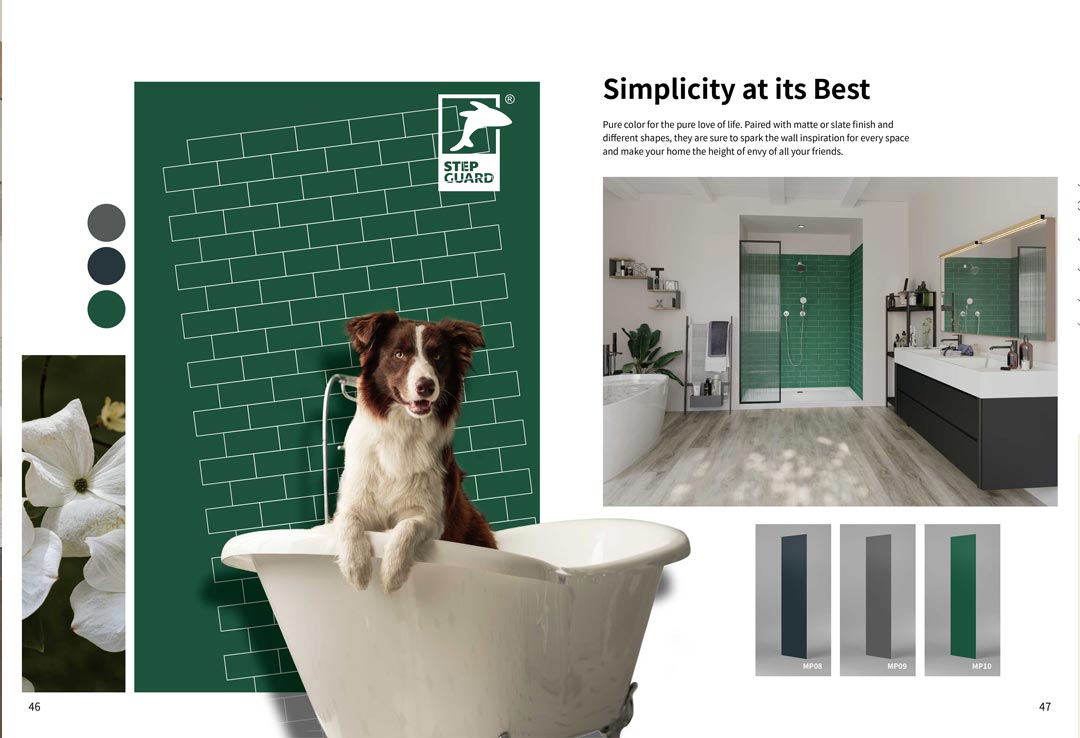
Then people would have this question: “Shower SPC wall panels, before or after shower tray or tub?” It is recommended to install the shower tray or tub first. Next, you can fit the SPC shower wall panels and seal the gaps using the waterproof silicone adhesive.
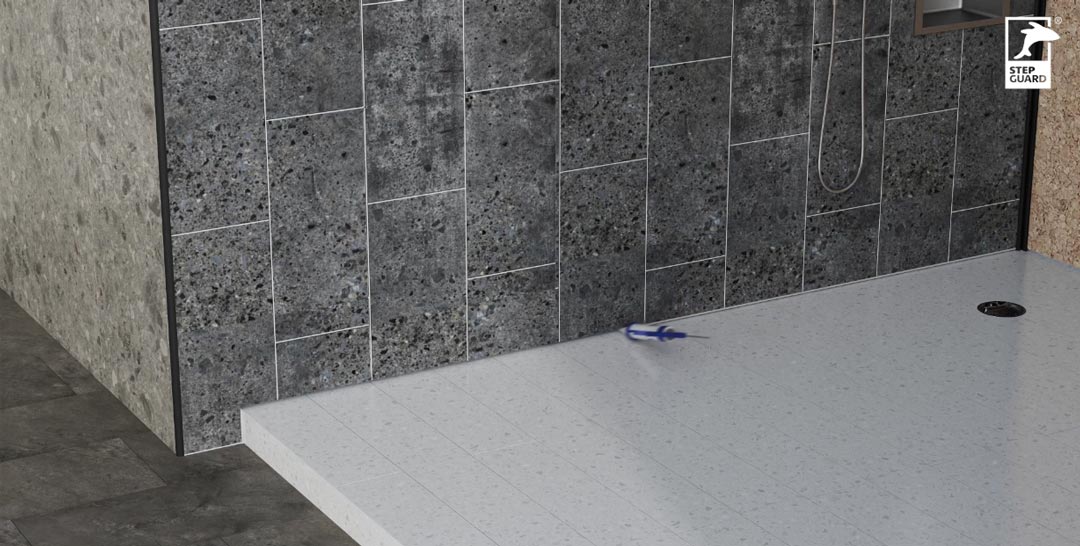
Here is also one part people would usually neglect: you need to line up the top of the SPC wall panels, which means you need to level your base floor for a better effect.
Simple tools like jigsaw, and circular saw for the straight cut. You can even use a utility knife to make the cut.
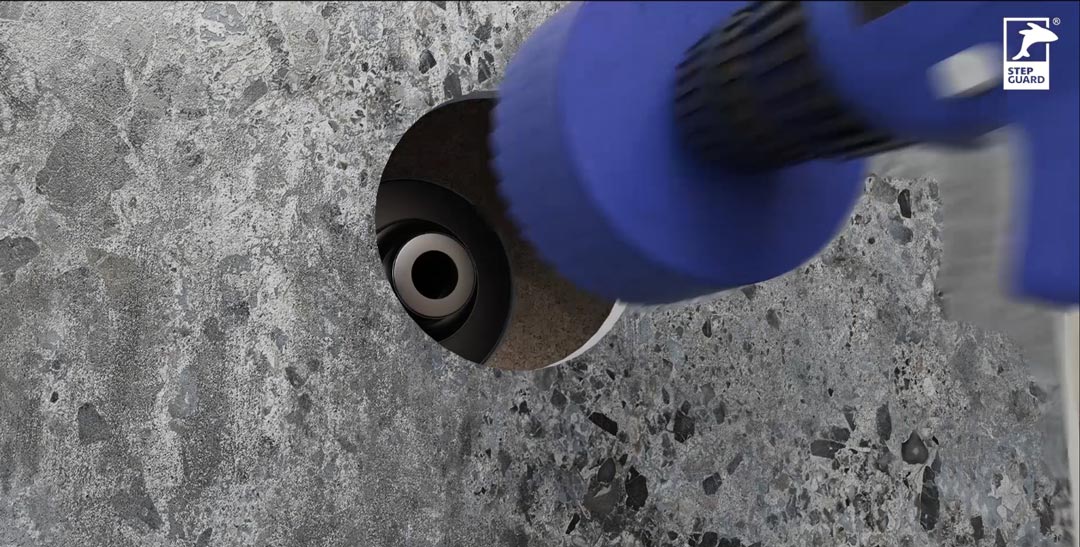
Hole saw will be used to cut the SPC wall panels for your pipes, etc.
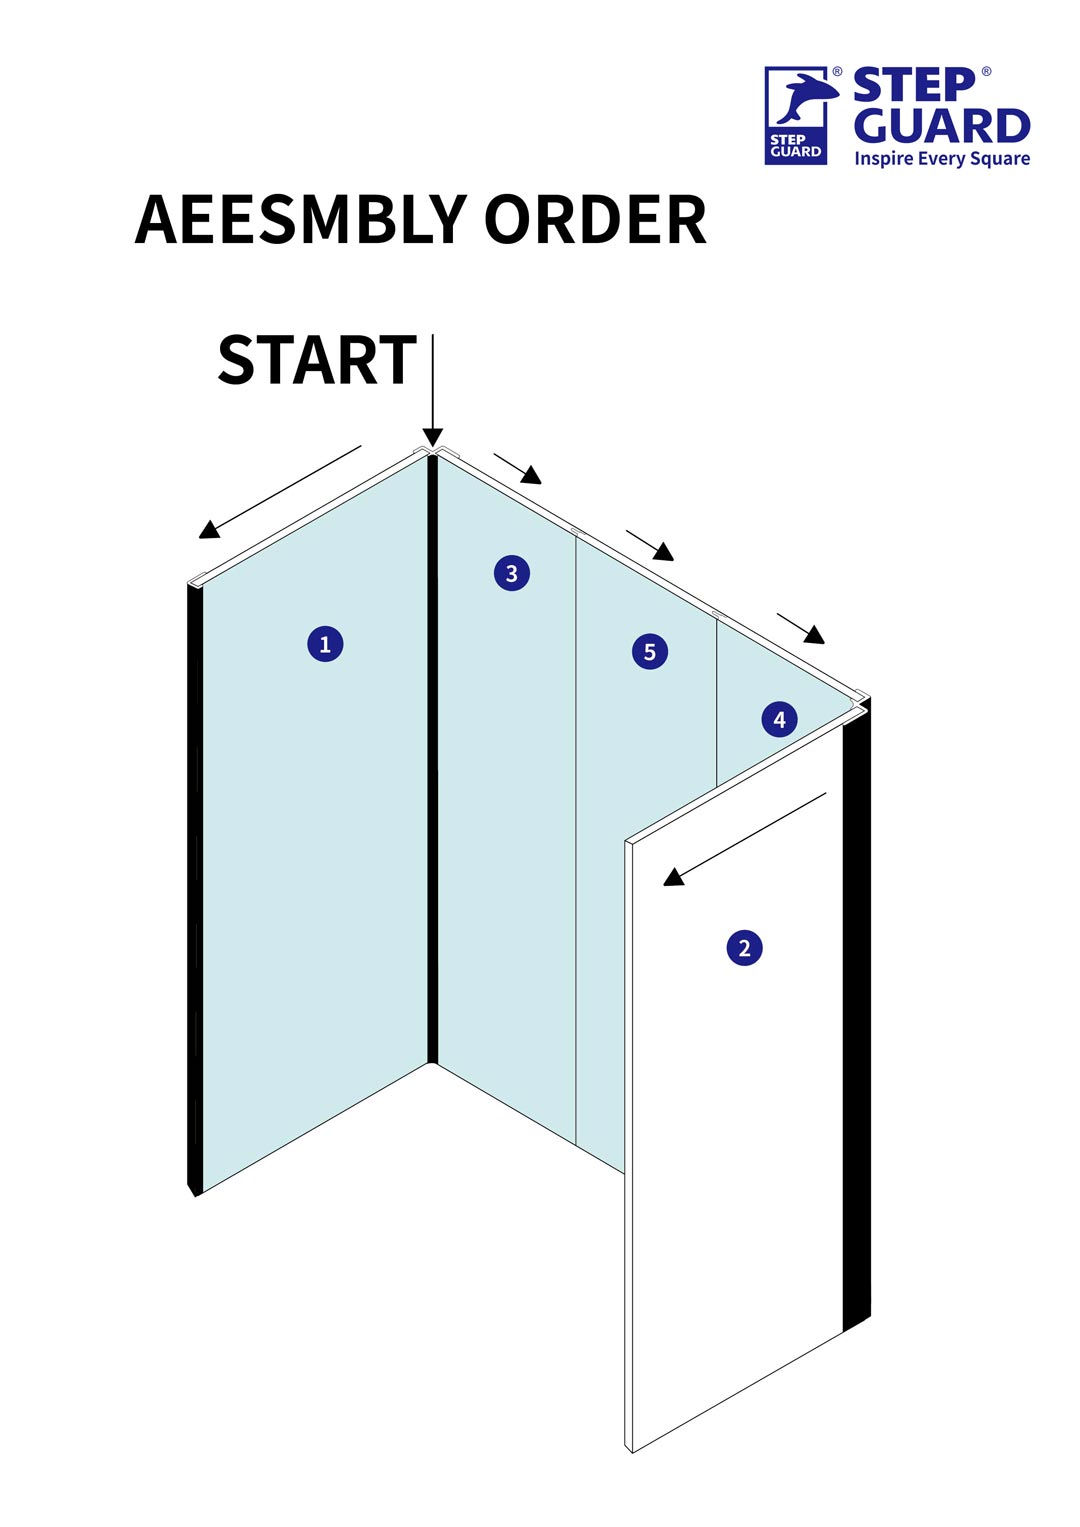
For 2-sided shower enclosures, it is recommended to start from the internal corner, and then side wall panels;
For 3-sided shower enclosures, it is recommended to start from the left-side internal corner, then the left-side wall panel, back wall panels, and then the right-side wall panel.
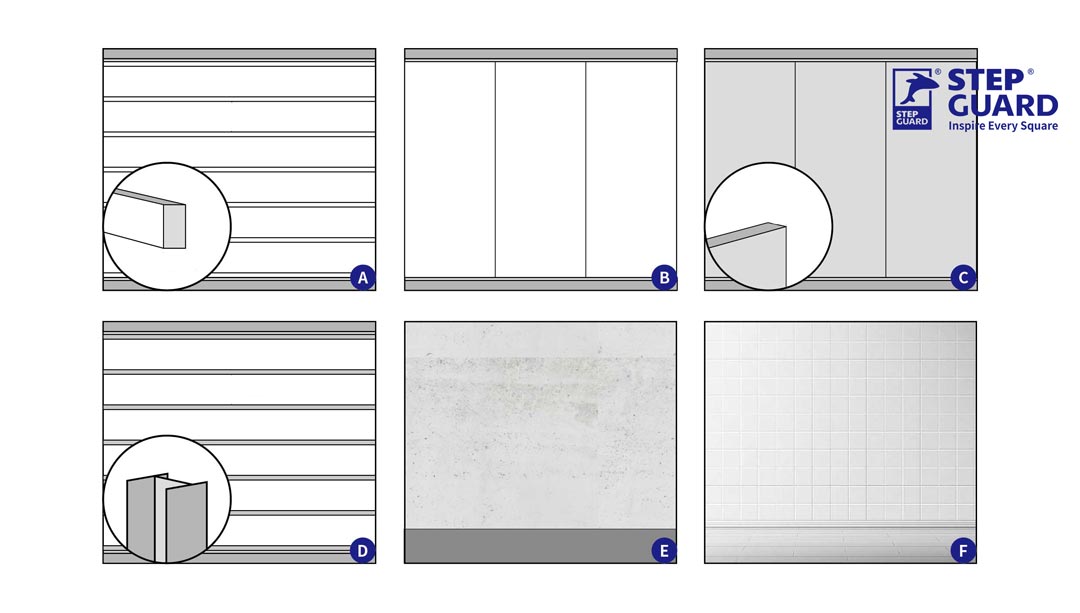
The back wall in the bathroom should be waterproof, clean, dry, level and plumb. Otherwise, necessary measures should be taken the meet the requirement. To make a bowed or bent back wall plumb and even is to plane out or shim the faces of studs that are recessed behind the plane of the other studs.
There are several types of back walls our shower SPC wall panels can be installed on:
OSB strip, OSB board;
Plaster, sheetrock, greenboard;
Steel stud;
Concrete wall;
Old tiles
For other places that don't need to be waterproof and moisture proof, you can also use MDF board.
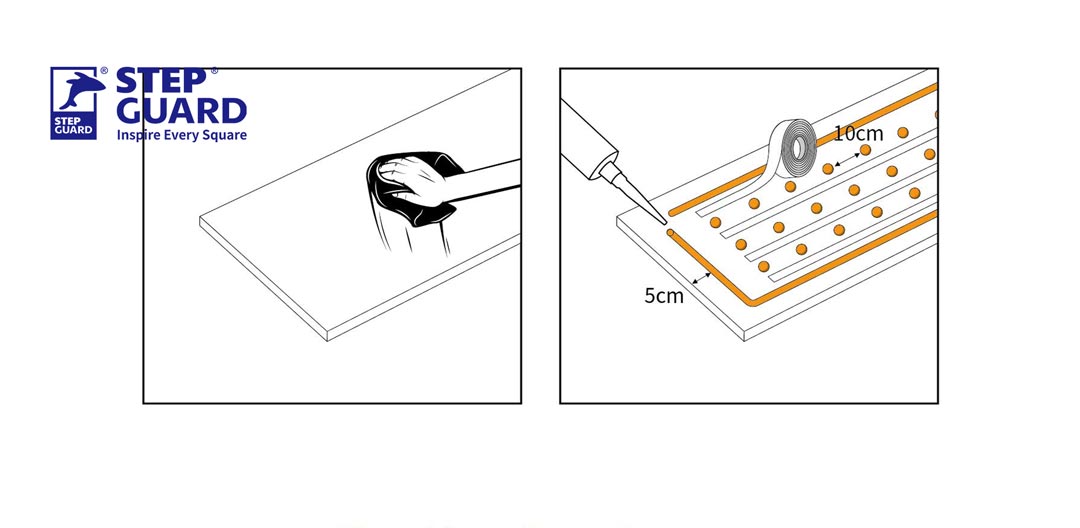
There are two types of adhesive you need to finish the installation, the first one is construction-grade structural adhesive, and the other one is double-side construction EVA/PE foam tape for instant bonding.
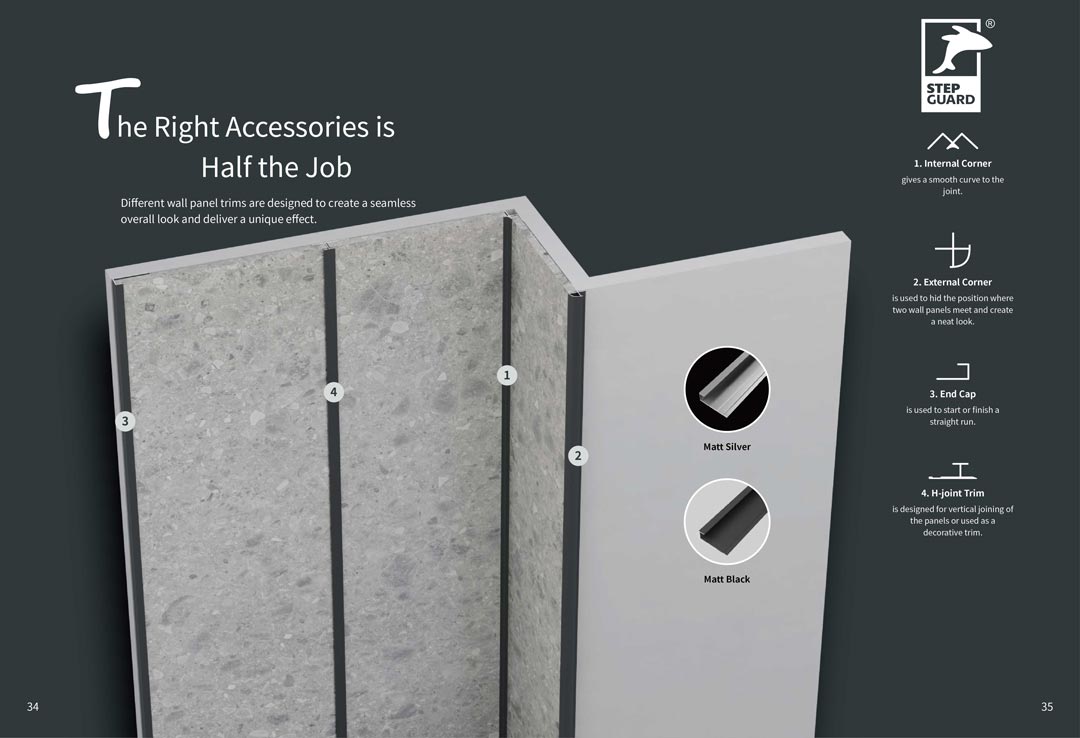
For our SPC shower wall panel system, the installation profile accessories are included in the all-in-one kit.
Basically, you will need the internal corner profile and the end cap to finish the installation.
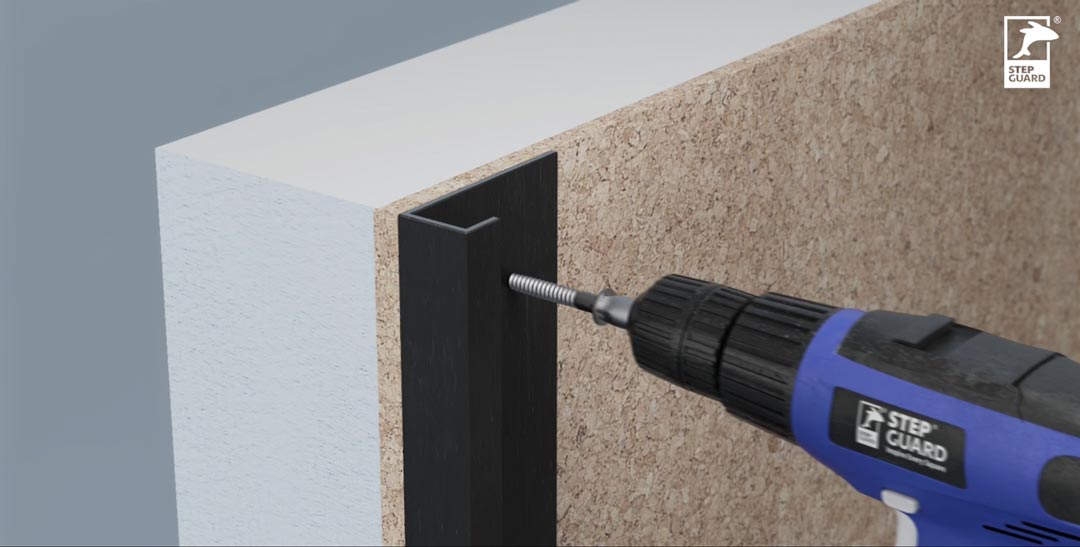
Apply the adhesive on the back of the profile and screw to fit.
Our waterproof bathroom SPC wall panels can be applied on tiles using construction-grade structural adhesive, double-side construction EVA/PE foam tape and expansion screws to fit when the base wall is sturdy.
All plastic tiles must be removed;
Properly remove and or reattach any loose tiles;
It is recommended to rub or sand the tiles with a high gloss finish for a better grip.
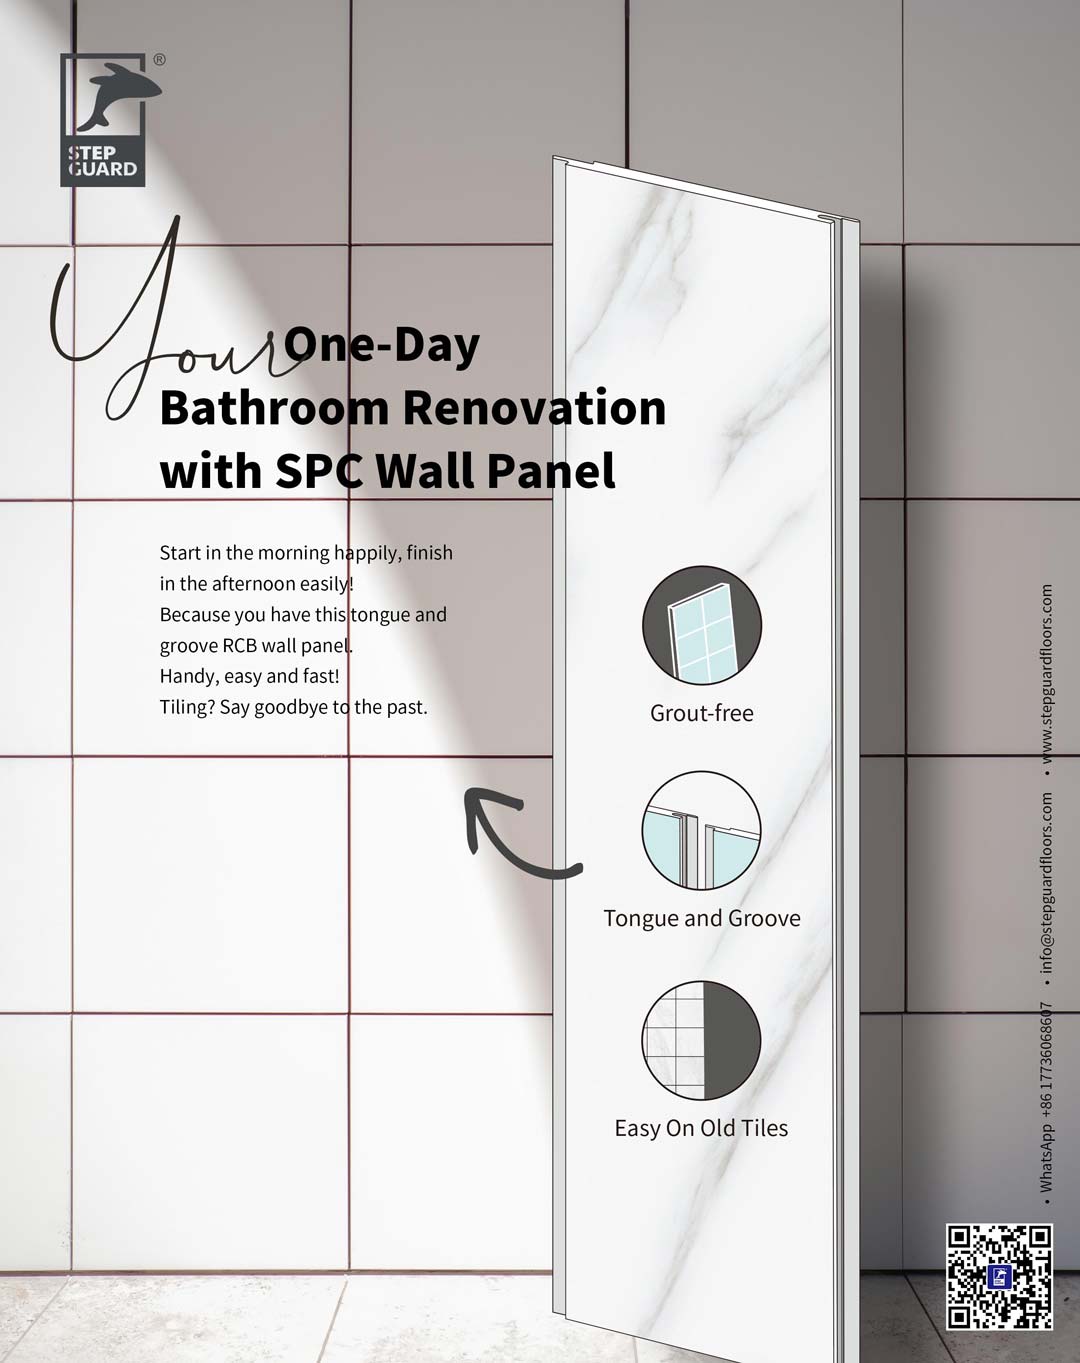
Basically, that’s all for installing our shower SPC wall panel system. If you have any other questions, you can contact us directly for professional installation instructions, videos and online training! Also, more designs are waiting for you to explore.
 © STEP GUARD 2019 J&R Group All Rights Reserved | www.stepguardfloors.com | Sitemap | 冀ICP备20003071号-2